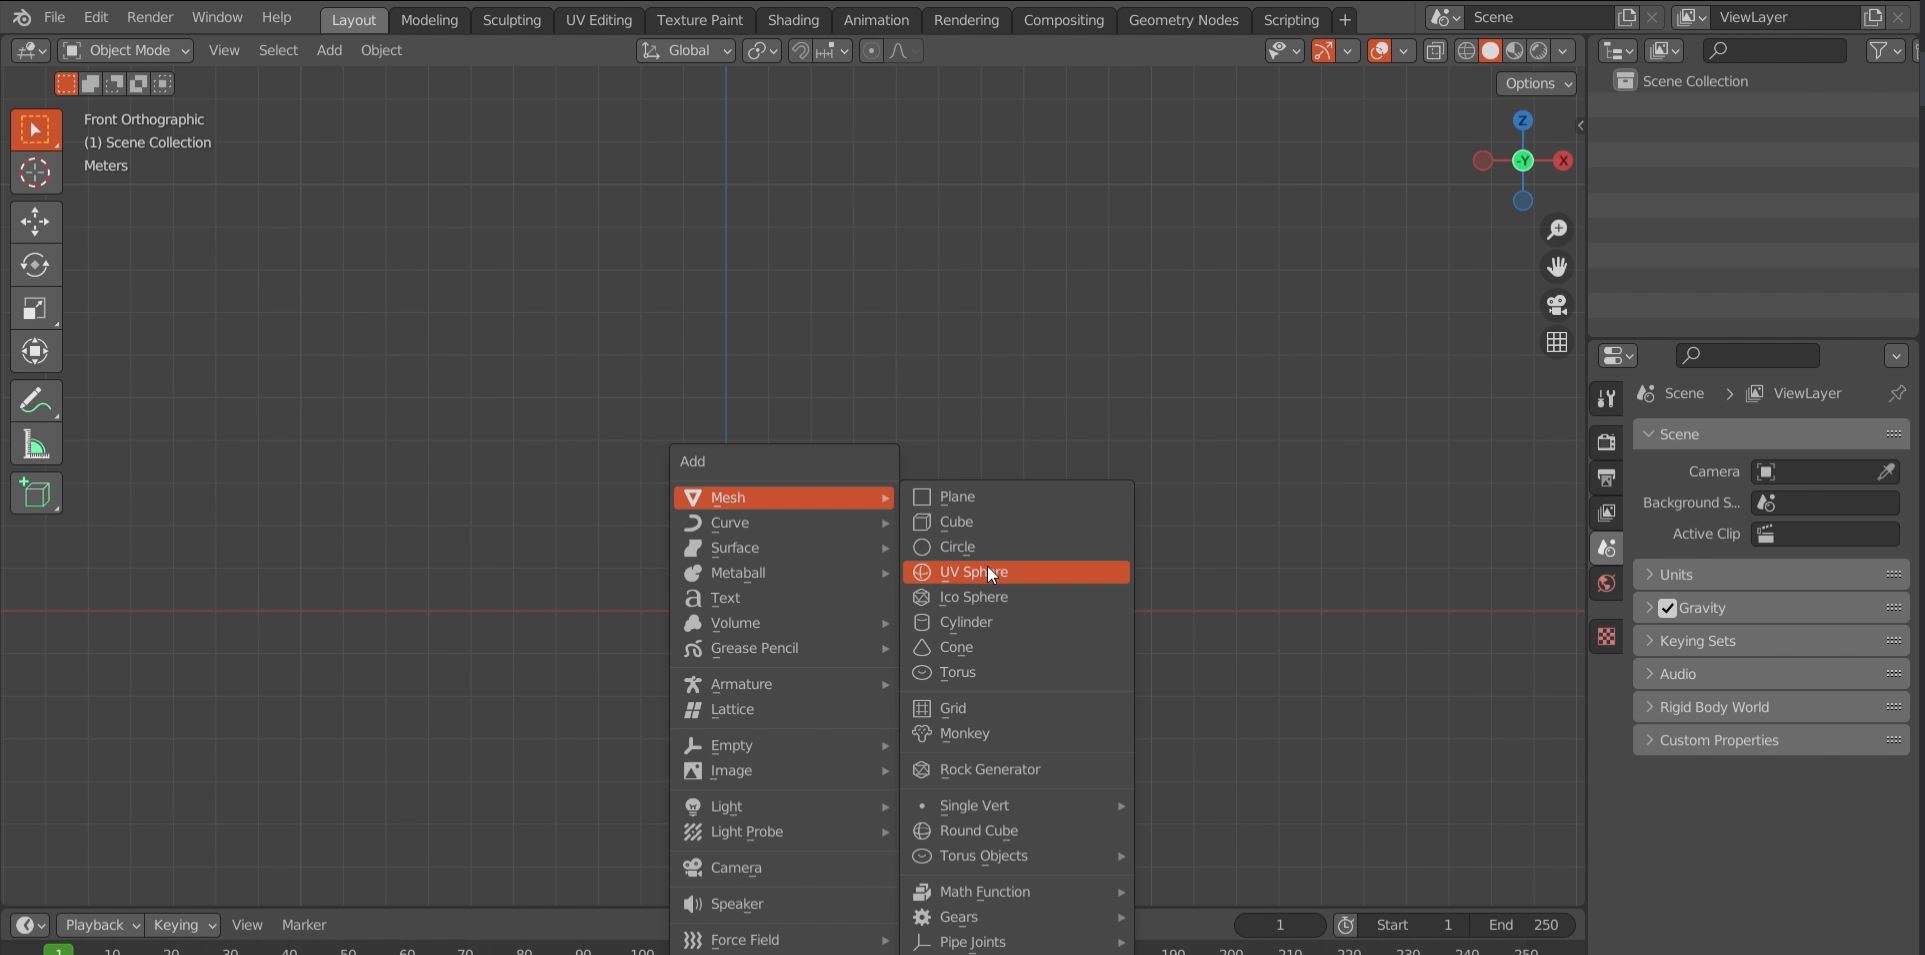
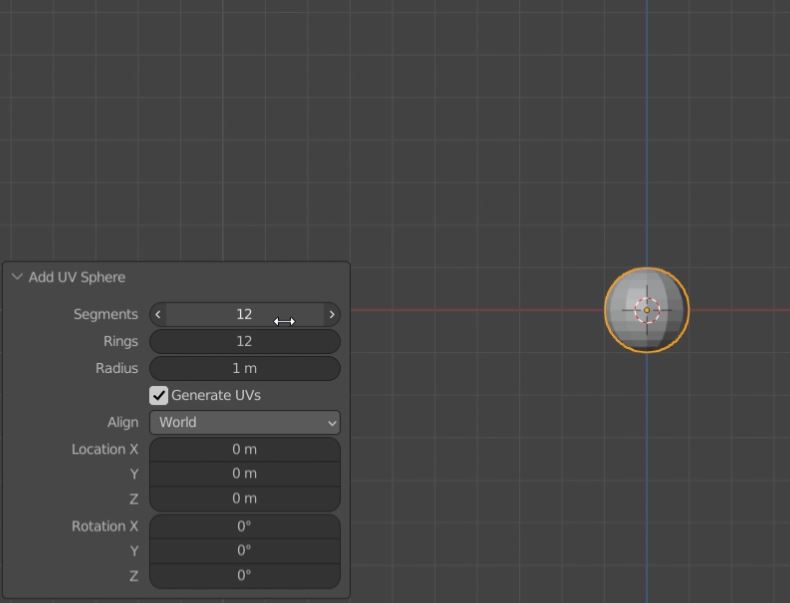
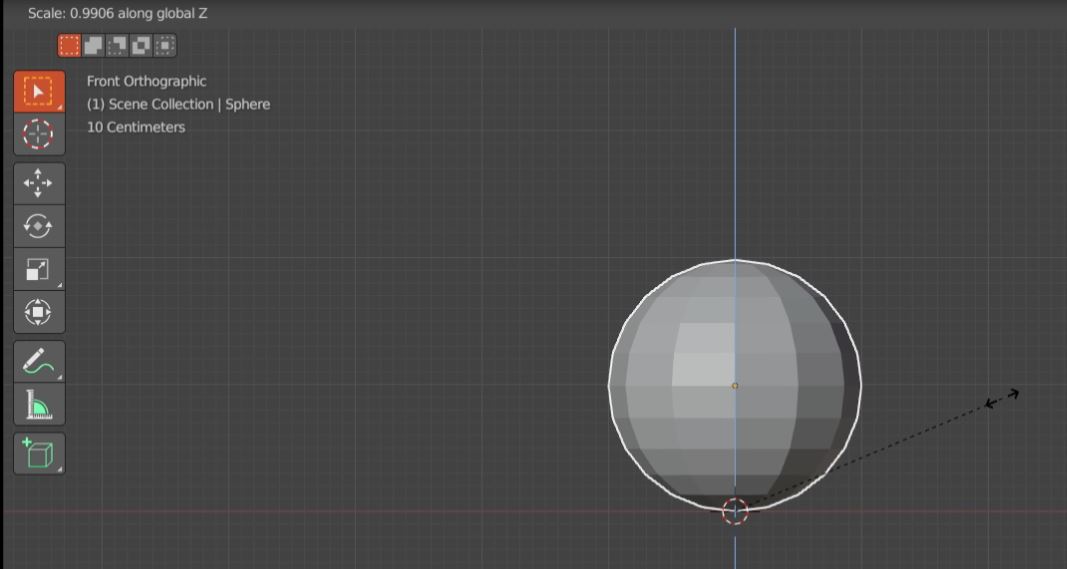
Step 1. - We start with a UV Sphere: Click shift + A and add it to your scene. Then you reduce the segments and rings to 12.
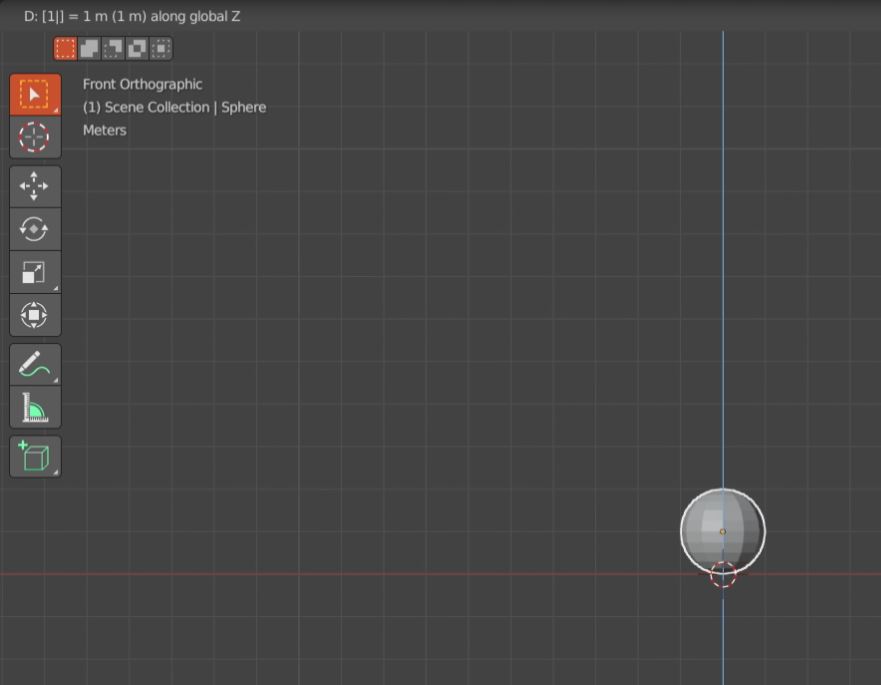
Step 2. - Then you move your sphere above the x axis clicking G + Z + numpad 1 . This will constrain the movement to the z axis and will move it 1 blender unit. (check top left corner, yours should look something like that too.)
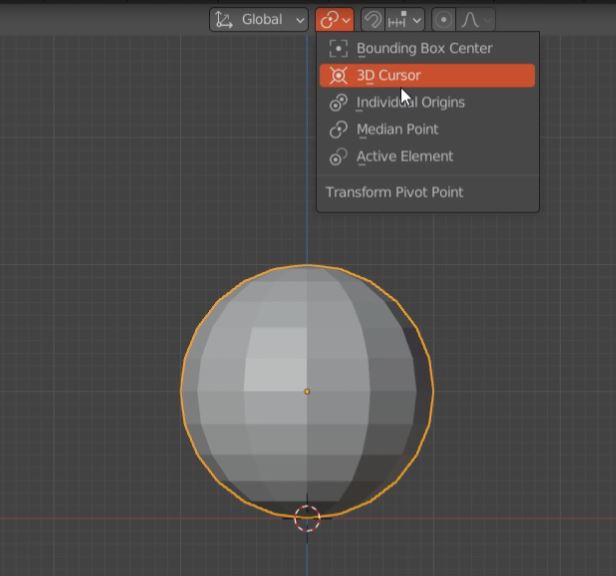
Step 3. - Next we will change the transform pivot point to the 3D cursor. This will affect how we scale, move or rotate our object.
Before going to the next step. We need to go to object mode, click "I", and in the Insert Keyframe menu select location, rotation and scale this will create our first keyframe. Be sure to make it with the cursor over the first frame like this:
Step 4. - Now we move our frame in the time line, so the ball "animates"
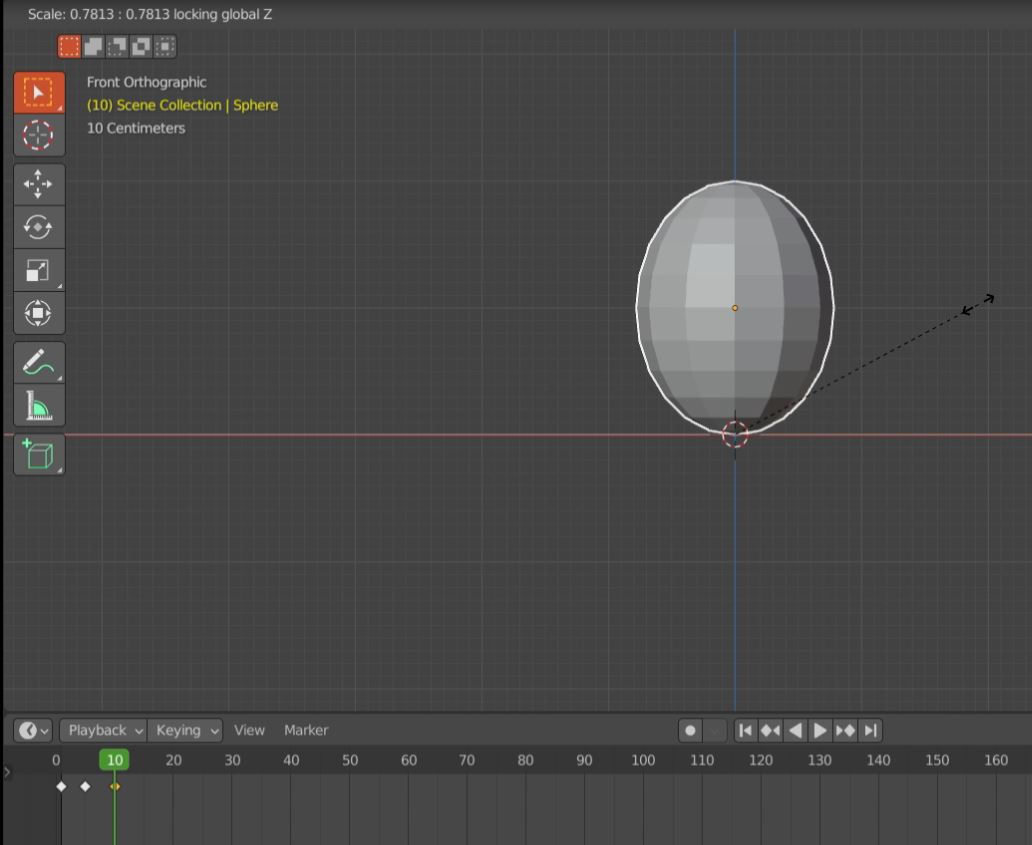
when we introduce a new keframe, then click S + Z and start "compresing" our ball.
We can also make the ball "wider" clicking "S" then
Shift + Z. This will prevent the ball from scaling in the z axis. You can play with the
shape of your ball until you are satisfied with the result.
Note: If our ball is not "aligned" with the cursor, the results will be different.
Step 5. - We go to object mode and with the item selected and the mouse pointer over the viewport we hit "I" again and select location, rotation and scale to create a new keyframe. If you click the jump to end point button and then hit the play button you will see how the ball animates (cool right?).
We will repeat this process multiple times remembering to always change frames in the timeline when we want a new "pose" or position. Also depending on how close or far away each keyframe is from each other, the animation will look faster or slower. Is faster when they are closer together and slower when you separate them. As you can see in the bottom corner of the image above there is a "Start" and "End" tags next to a stop watch. You can modify in the timeline viewport how many frames you want to play through.
Step 6. - Now we will move to the next frame and duplicate our first keframe, this will make the ball look round again. In this same frame we will hit"S" then "Shift + Z"and make the ball thinner so it looks as if it was starting "jumping".
We hit "I" and create a new keyframe, it will replace the one we duplicated with this new shape.
Step 7. - Now we will create the last keyframe for this simple animation. We move to frame 15 hit "G + Z". And move it up as high as we want our ball to bounce. I also scale it on x and y axis to make it look more cartoonish. After that we will hit "I" and create the keyframe.
Step 8. - Now we can duplicate the keframes by hitting "Shift + D" and complete the animation. Remember to copy them as a mirror so the animation can loop properly. What i mean is the first keframe we made in frame 1 will be duplicated and moved to frame 60, the second keyframe we created (which right now is in frame 20) will be duplicated and moved to frame 40 and so on. This is how i ended up arranging the keyframes.
As you can see I have some extra keyframes where I modified the scaling and position to make the ball look more bouncy. you can try too until you are satisfied with the final shape of your animation.
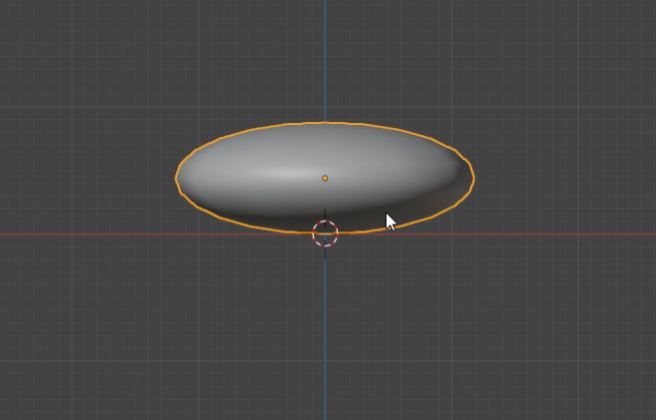
Step 9. - So we reached the last thing to do before adding the materials. Go to object mode ("Shift + tab" if you are in edit mode) and make sure the object is selected. Once selected click on the right mouse button and click on shade smooth. This should have removed the poligony look our ball had.
And thats it. We are ready for the next How to!
